
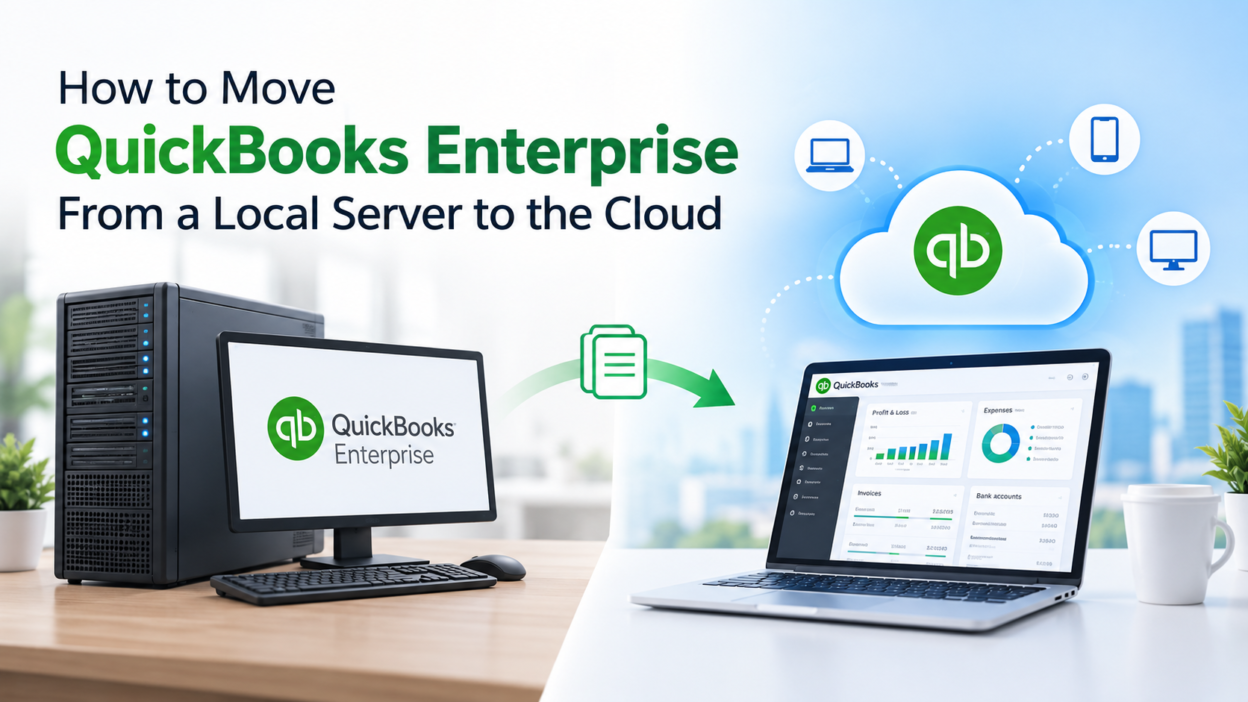
QuickBooks Enterprise is built for growing businesses that need more users, bigger company files and advanced reporting. But running it on a local server in your office comes with limits: hardware that ages, backups that get skipped, slow remote access and IT problems that interrupt your accounting team.
That is why more businesses are turning to QuickBooks Enterprise hosting, where the same software runs on a secure cloud server, and your team accesses it from anywhere. The move may sound technical, but with the right plan, it is straightforward. This guide walks you through why businesses switch, what to prepare, and how to migrate step by step.
Why Move QuickBooks Enterprise From a Local Server to the Cloud?
A local server works well at first, but problems tend to build over time:
- Hardware costs: servers need replacement, upgrades, storage and power.
- Maintenance burden: updates, patches and troubleshooting fall on your team.
- Limited remote access: VPNs and remote desktop workarounds are slow and hard to secure.
- Backup risks: manual backups are easy to forget, and a server failure can mean lost data.
- Performance issues: large company files and many users can slow down a poorly sized server.
- Downtime: when the server stops, accounting stops.
With QuickBooks Enterprise hosting, the provider manages the infrastructure, so your team can focus on accounting instead of servers.
What to Check Before You Migrate
A little preparation prevents most migration problems. Before you begin:
- Check your QuickBooks version and license: Confirm your Enterprise version, license details and the number of users you need.
- Clean up your company file: Remove unused accounts, merge duplicates and run the Verify Data utility to catch errors early.
- List your add-ons and integrations: Payroll, inventory tools, CRMs and other apps should be supported on the hosted server.
- Document your users and permissions: Note who needs access and at what level.
- Choose a low-activity window: Plan the move for a weekend or a quiet period to limit disruption.
- Create a full backup: Keep a safe copy of your company file (.QBW) before touching anything.
Step-by-Step: How to Move QuickBooks Enterprise to the Cloud
Here are the essential steps to migrate QuickBooks Enterprise to the cloud:
Step 1: Back Up Your QuickBooks Company File
Create a complete backup of your company file and store it somewhere safe, such as an external drive or secure storage. This is your safety net if anything goes wrong.
Step 2: Choose a QuickBooks Enterprise Hosting Provider
Pick a provider with experience in QuickBooks Enterprise specifically. Compare uptime guarantees, backup policy, security features, support availability and pricing transparency. Ask whether they help with the migration and whether your version and add-ons are supported.
Step 3: Set Up Your Cloud Server and Users
Your provider configures the hosted environment, installs QuickBooks Enterprise and creates user accounts. Share your user list and permission requirements so each person gets the right level of access from day one.
Step 4: Transfer Your Company File
Your company file is uploaded to the cloud server. Many providers handle this for you, which lowers the risk of file corruption or data loss. Keep your original local copy untouched until testing is complete.
Step 5: Test Everything Before Going Live
Open the company file and check that everything works:
- Balances and reports match your local version
- Multi-user mode works for all users
- Integrations, printing and add-ons function properly
- Speed is acceptable with several users logged in
Fix any issues now, before the team starts working in the new environment.
Step 6: Train Your Team and Switch Over
Show your staff how to log in and access QuickBooks remotely. Once everyone is comfortable, switch fully to the hosted setup and retire the local server’s QuickBooks access to avoid two versions of the same file.
Step 7: Monitor and Optimize
For the first few weeks, watch for performance issues, access problems or user feedback. A good provider will help you adjust resources, permissions and settings as needed.
Common Mistakes to Avoid
- Skipping the backup: Never migrate without a verified copy of your file.
- Not testing before go-live: Problems found after launch cost more to fix.
- Running two live versions: Using both the local and hosted file leads to data conflicts.
- Ignoring add-on compatibility: Check integrations before you move.
- Choosing on price alone: Cheap hosting with weak support or backups can cost more later.
- Poor communication: Tell your team about timing and downtime so nobody works in the wrong file.
What to Look for in a QuickBooks Enterprise Hosting Provider
- Uptime guarantee: look for a clear SLA, ideally 99.9% or higher.
- Data backup and recovery: automated backups stored off-site.
- Security: encryption, firewalls and multi-factor authentication.
- QuickBooks expertise: support staff who understand Enterprise, not just general servers.
- Migration assistance: help moving your company file safely.
- Scalability: the ability to add or remove users as your business changes.
- Transparent pricing: clear information about what is and is not included.
Final Thoughts
Moving QuickBooks Enterprise from a local server to the cloud removes the hardware worries, backup risks and remote access headaches that slow down growing businesses. With proper preparation, a tested migration and the right partner, QuickBooks Enterprise hosting gives your team secure, reliable access to accounting data from anywhere.
If you are ready to make the move, Apps4Rent is a provider worth considering. It offers QuickBooks Enterprise hosting with managed cloud servers, data backups, security measures and technical support, so your team can focus on the business instead of the infrastructure.
Ready to move your accounting to the cloud? Take a look at Apps4Rent’s QuickBooks hosting pricing and see which one fits your team.